What is the Difference Between Laminate and Vinyl Flooring?
If you’re considering replacing your home’s floors, you have many options to choose from. Vinyl and laminate both offer a harmonious balance of beauty and durability that stands up to the challenges of everyday living.
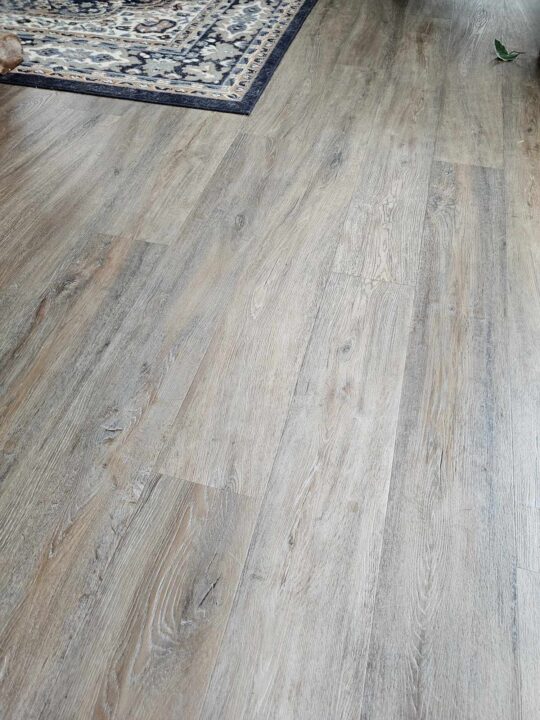
Laminate offers a stunning visual appeal thanks to modern printing techniques that inject a sense of realism. This flooring type is also highly durable and resistant to stains and moisture.
Durability
Both vinyl and laminate flooring are durable options that can hold up to the demands of daily life. However, they differ in how well they can withstand moisture and climate changes. Ultimately, it depends on your priorities for the space and what you’re looking to get out of your floors.
Both types are made up of several layers of different materials. The top layer is a clear wear layer, followed by a printed image layer that can look like stone or wood. The bottom layer is soft foam or, in some cases, a backer paper layer.
Vinyl is also made of 100% synthetic material, and the thickness and composition varies depending on the type you choose (sheet, tile, or luxury vinyl plank). This makes it ideal for areas that are prone to spills, humidity, or physical damage. It’s also a great option for families with pets, as it can handle rough play.
Vinyl is a flexible and durable floor that can be installed over most existing floors. It is ideal for high-moisture areas, such as kitchens and bathrooms. The only drawback of this type of flooring is that it can swell and warp if moisture seeps into the seams between planks. For this reason, it is not recommended to install laminate in moist areas of the home.
Installation
Before you install your new floors, decide what your main criteria are. Do you want something that looks more like real wood, is fully waterproof or feels more comfortable underfoot? Once you have decided, then you can start shopping.
Both vinyl and laminate are hard products that resist scratches, which makes them a great choice for high-traffic areas. They also hold up well to pets and are affordable. They are also easier to clean than rugs, which can be prone to wax buildup and oily streaks.
However, while laminate can be installed over most existing floors, vinyl must be removed before installation. This can be time-consuming and labor intensive, but is necessary for the best results. When you are finished, it’s important to put molding back in place carefully. A brad nailer can make the process much faster and help the molding look better.
Cost
The cost of vinyl and laminate flooring varies widely depending on room size and installation method. Larger rooms require more planks and installation time, which drives up material and labor costs. Irregularly shaped rooms can also increase costs because of the need to cut and waste materials.
Unlike vinyl, which typically uses an image layer beneath the protective top layer, laminate is thicker and features a clear, protective plastic over the image layers. This gives it a more authentic look, especially in higher-quality options.
Laminate tends to be a more expensive choice than vinyl, but it also has the advantage of increasing resale value more than vinyl. Both are low-maintenance options, but it’s important to use manufacturer-approved cleaning products to prevent the emergence of abrasive particles that could scratch and dull the protective layer. Additionally, avoiding harsh, ammonia-based cleaners is critical for vinyl to prevent damage to the soft foam underneath. Both types of flooring are available in a variety of textures and finishes, so you can find the perfect option for your home.
Removal
The first step in removing vinyl flooring is to remove all furniture from the room. This will give you unimpeded access to the work area and make it easier to cut the material into 12-inch strips. Once you have cut the vinyl, find a section where there is no glue underneath and begin removing it. Use a putty knife or pry bar to get under the edge and wiggle it loose. You can also apply heat with a heat gun to soften the adhesive and make it easier to remove. For a truly easy process – call in the professionals! Dust Free Floor Busters can get your space ready for installation quickly and efficiently, and headache free!