Backsplash Removal
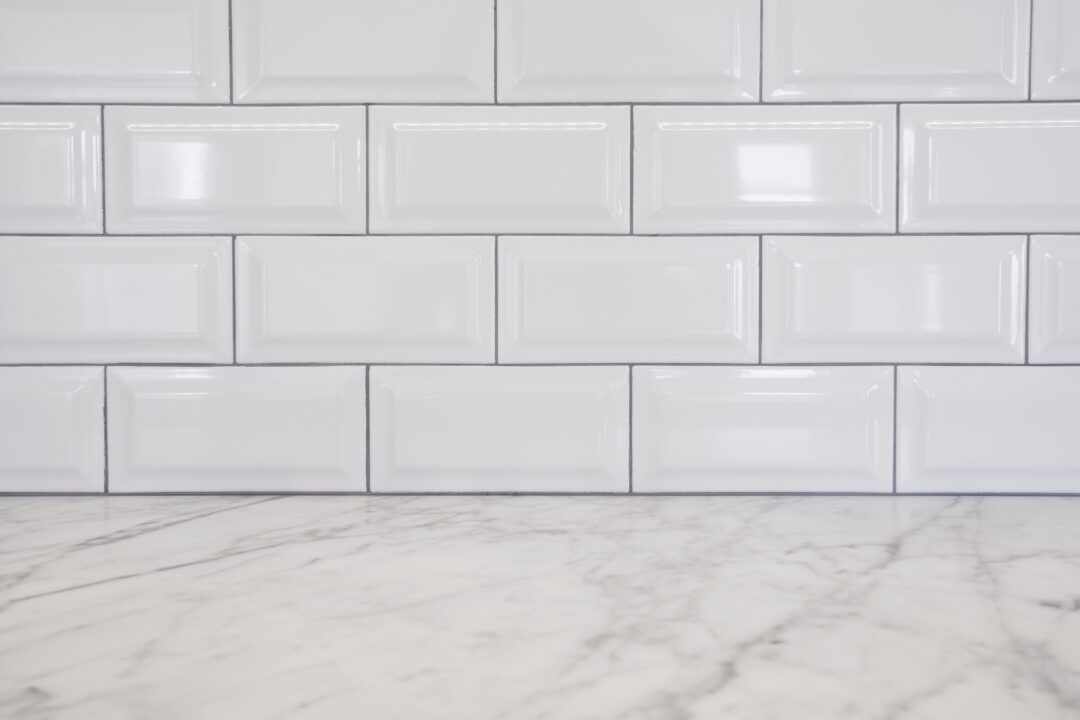
A tile backsplash can be a beautiful design feature in a kitchen, but sometimes it can start to look dated or you may want a change. Removing a tile backsplash can be tricky though. Unless you’re extremely careful it can be easy to damage the materials underneath, especially if the tiles were installed directly on the drywall. In extreme cases, you might have to replace the drywall too. This tutorial will show you how to remove a tile backsplash without damaging the structure or materials behind it.
The first step is to prep the workspace. This means getting rid of any clutter and covering counters, sinks and anything else that could get damaged during the removal process. Next, shut off the electricity to the area using the circuit breaker. It’s best to put down plastic sheeting over the work area too. This will limit tile shards from falling into things like the stove and sink. Also, if your sink has a drain plug, put it in place so that any tile pieces don’t end up in the sink.
Now you can begin removing the backsplash. You’ll need a few different tools to get the job done. An electric drill with a masonry bit attachment will help you to create holes in the grout lines of the existing tile. These are used to loosen the tile and make it easier to remove without damaging the drywall beneath. You should also use a grout removal blade on your multi-tool or dremel tool to grind away the grout. Again, you’ll need to be very careful with this, but it will speed up the process and help minimize the amount of shards you have to pick up and vacuum.
Once the grout is removed, you’ll need to use a hammer and chisel to loosen the remaining tiles and the adhesive that holds them in place. If you’re lucky, the tile will just “pop-off” from the wall. This is especially true for ceramic and porcelain tiles. If you have trouble, try soaking the back of the tiles in warm water. The steam will help break up any residual glue and make it easier to remove.
At the very end, you’ll likely have to use a utility knife to cut through any caulk that is sealing the seam between the backsplash and the countertop. After the caulk is removed, you can smooth any rough spots of leftover mortar with a putty knife. This will make the surface ready to install your new backsplash.
Once you’ve finished the removal process, there’s usually a lot of drywall dust left behind. Using joint compound will help to cover up any small depressions, scrapes or holes that might be left on the wall. Once the joint compound is dry, you can sand it smooth with 120 grit sandpaper.