Before commencing the staggering process, acclimate the planks to the room’s conditions. This helps to prevent expansion or contraction issues after installation.
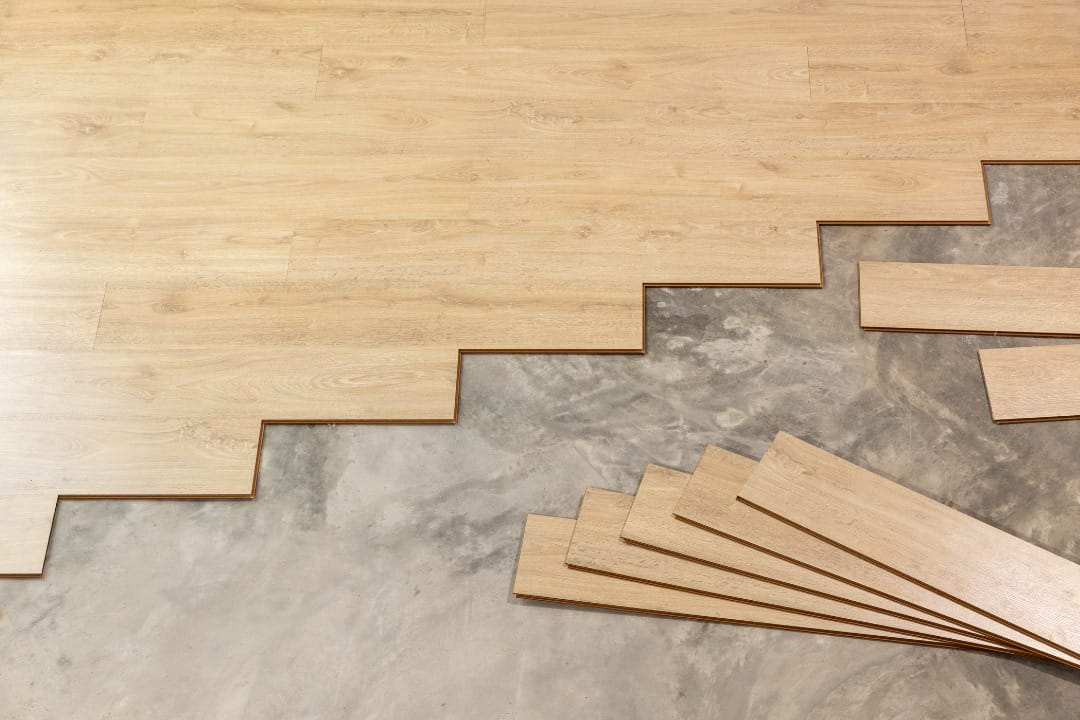
Staggering your vinyl plank flooring will help to avoid H-joints and create a natural and fluid appearance. There are a few important factors to keep in mind when stagger your floor: Length, Spacing, and Layout.
Length
It is important to know the length of a vinyl plank flooring strip when staggering it. This will help you calculate the number of full planks to cut for each row and avoid wasting material. It is also helpful for minimizing the amount of time spent cutting the material. Generally, the manufacturer will specify the minimum distance between end joints for each row.
You should always follow these specifications as they can prevent problems down the road, such as weak spots in the floor. Staggering by less than the specified minimum can result in a step pattern in the floor that looks like giant H-joints. To avoid this problem, you should start the first row of vinyl planks with a full-width plank. Then, use your offcuts to begin each subsequent row. This will ensure that the seams are in a more natural order and avoid the “step pattern” look that you want to avoid.
Spacing
The spacing of a vinyl plank flooring strip should follow the specifications provided by the manufacturer. This will prevent the creation of an unwanted step pattern and will help to limit or prevent buckling, separating, or sagging in the long run.
To calculate the ideal spacing for a vinyl plank flooring row, first measure the room’s width and subtract 1/2-inch to allow for expansion. Then divide this number by the width of a full plank. This will provide the spacing you will need to stagger your flooring.
Begin the first row by laying one full-width plank, making sure its end is at least six inches from the end of the second row. Then, use the offcut from the first row to begin the second row. This will stagger the first two rows and ensure that your flooring has a consistent, yet visually appealing layout. Continue this process for the remaining rows.
Layout
When laying vinyl plank flooring, you need to maintain the manufacturer’s distance specification for the end joints of adjacent plank rows. Failure to do so can lead to uneven floors that may buckle and warp over time.
To achieve an even floor with proper stagger, you should first compute the number of full planks you will need to cover your room’s length and divide that amount by the width of a single plank. This will give you the ideal size for the first row of planks, as well as the last row.
It is also important to regularly mix up the planks you are laying from different boxes. This will help to prevent the creation of a step pattern, which can detract from your floor’s natural look. It will also make blending the different color shades of the flooring easier, which is essential for creating a balanced appearance throughout the room. Staggering the layout of your vinyl planks is a critical step in ensuring that your installation looks professional.
Randomization
Staggering is important because it creates a more natural look and helps prevent buckling and warping over time. It also helps minimize gaps and creases in the floor. In addition, staggered flooring can be laid in a herringbone or diagonal pattern for a unique and distinctive design.
One of the most common mistakes when installing vinyl plank flooring is failing to keep the manufacturer’s distance specifications for the end joints of adjacent row seams. Keeping these specifications in mind can prevent the formation of an unattractive step pattern or “lightning” problem, which can lead to H-joints or a “stairstep” effect in the finished floor.
To avoid this mistake, make sure to always start each new row with a full length of the first two starter pieces. Then cut the remainder of the starter plank to a different length. This will help ensure that the seams are spread out in a random pattern. You may even want to consider alternating starter piece lengths every other row to ensure the proper stagger.
Contact Floor Busters for all your floor removal needs.