Removing tile can be a messy and dangerous task, so proper preparation is important. This includes wearing protective gear such as safety goggles, working gloves and knee pads if you’ll be on your knees a lot.
Before you get started, take note of how the tiles are attached to the concrete floor. This will help you determine which tools and method are best suited for your particular project.
Preparation
Before you begin removing tiles, it’s important to prep the area. This ensures the project goes smoothly and protects your possessions.
First, remove all of the items that are sitting on or standing on the tiled floor. This includes tables, chairs, appliances, stands and other items.
Second, cover all surfaces in the room with a drop cloth to protect them from shards of tile and dust. This includes room entrances and vents, too.
Finally, don safety goggles and gloves for protection against injury. Removing tiles can generate a lot of dust, so this is especially important.
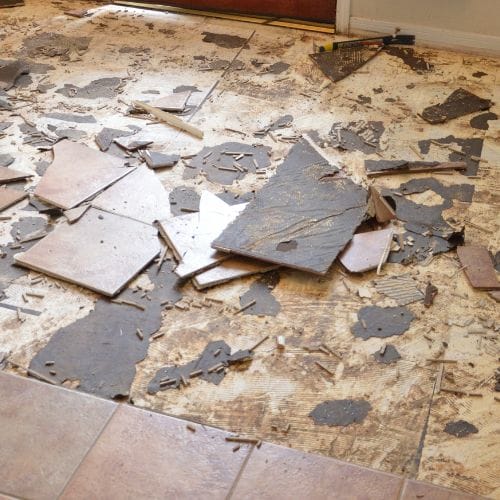
Often, you will need to use a hammer and chisel to break up the tile. However, if the mortar is thick enough, you may be able to scrape it away without having to break up every tile.
Gathering the Right Tools
If you’re planning to remove tile from your home, it is essential that you have the right tools for the job. This can make the project go much smoother, and it may even save you some money in the long run.
The first thing you’ll need is a hammer and chisel. A sledgehammer is one of the best manual tools for breaking up tiles before you can remove them.
Another useful tool is a demolition fork. They are similar to a pry bar, but the fork is made from solid steel.
When you’re ready to remove the tile, insert the fork under the raw edge and apply pressure to the handle. This will cause the fork section to point upwards and lift up the tile.
If you’re working on a large area of tile, a hammer drill is also an excellent option. This tool will break up the tiles and loosen them from the backer board, making it easier for you to remove them.
Cutting the Tile
Whether you’re tiling a backsplash, bathroom wall or floor, most projects require cutting the tiles to fit correctly. It may seem intimidating, but with the right tools and a little patience, cutting tile isn’t difficult.
There are a few different methods for cutting tile, depending on the type of material and what kinds of cuts you want to make. The first is to use a manual tile cutter, which can be very helpful for making straight cuts in smaller ceramic tiles.
A manual cutter uses a small wheel-shaped blade that slides across the tile and scores or etches a line into it along a perfectly straight line.
After you’ve cut the tile, smooth down any rough edges with a brick or piece of concrete. This will help it to look smooth and prevent it from cracking as you remove the tile.
Safety is the top priority when cutting tile, so be sure to wear proper PPE like gloves, earmuffs and a mask, as well as work in a well-ventilated area. This is especially true when using a power tool, which can create fine dust.
Removing the Tile
Removing tile floors can be a messy and time-consuming task. Depending on the construction, tiles may be affixed to bare cement or a plywood or mason board underlayment.
Before you start, prep the area to be worked on by covering windows, doors and other openings with tape. Also, cover air vents to prevent dust from settling into them.
Then, remove any freestanding items that could get in the way of the tile removal process, such as a towel holder or table in a bathroom or kitchen counter top. Protect these items from the shards of broken tile that will drop onto them during the work.
Using a hammer and chisel, break up the tile in places where it can be pried loose. Alternatively, use a grout saw to grind away the grout surrounding the tile. This will help preserve the surrounding tile from being damaged and make the tile removal process much easier.